
06 Dec How to install the ADT Pulse Garage Door Controller GD00Z-2
If you’re wondering how to install the ADT Pulse Garage Door Controller GD00Z-2, you’ve come to the right place. This post will walk you through it. If you want to buy one, go here. You can also go here to read the installation manual.
I received my ADT Pulse Garage Door Controller this week and was excited to get it installed. Up until now, I have had a “make-shift” way of opening and closing my garage door. This new device is AWESOME! It’s so easy to install and it meets all UL listing requirements (meaning it beeps and flashes a light when you open and close it, using ADT Pulse).
Installation Steps
The installation is so easy, just about anyone that can get on a ladder can do it. Here are the steps:
Step 1
Enroll your ADT Pulse Garage Door Controller (GD00Z-2) to ADT Pulse. Plug it into an outlet close to the iHub. Log into the pulse portal. Click on “system” and then “manage devices” and then “Lights, Thermostats, and more”. You will find the Linear Garage Door Controller on the drop down. Once you tell it to start looking for it, push the button on the controller. It should learn it pretty quickly and then you can name it.
Note: You may want to make sure your iHub has the latest firmware before trying to learn it in. If you click on system>gateway, you should see that it updated itself recently with the latest firmware, so there’s nothing you need to do here usually. Also, if it has been learned into another ADT Pulse system or if you tried to learn it in before your iHub was given the latest firmware, you might need to factory rest the device by pushing the button five times. “A quick beep followed by a longer beep will indicate proper reset of the GD00Z-2.”
Step 2
Mount the controller on the ceiling. This should be easy using the included screws and anchors. If you’re lazy like me, you will use drywall screws and hope it doesn’t fall off. It’s pretty light, though, and four drywall screws should do the trick. You want to mount it a few feet to the side of the garage door opener. That way, it’s far enough away that it isn’t super close to the opener, but not too far so the wires wont reach.
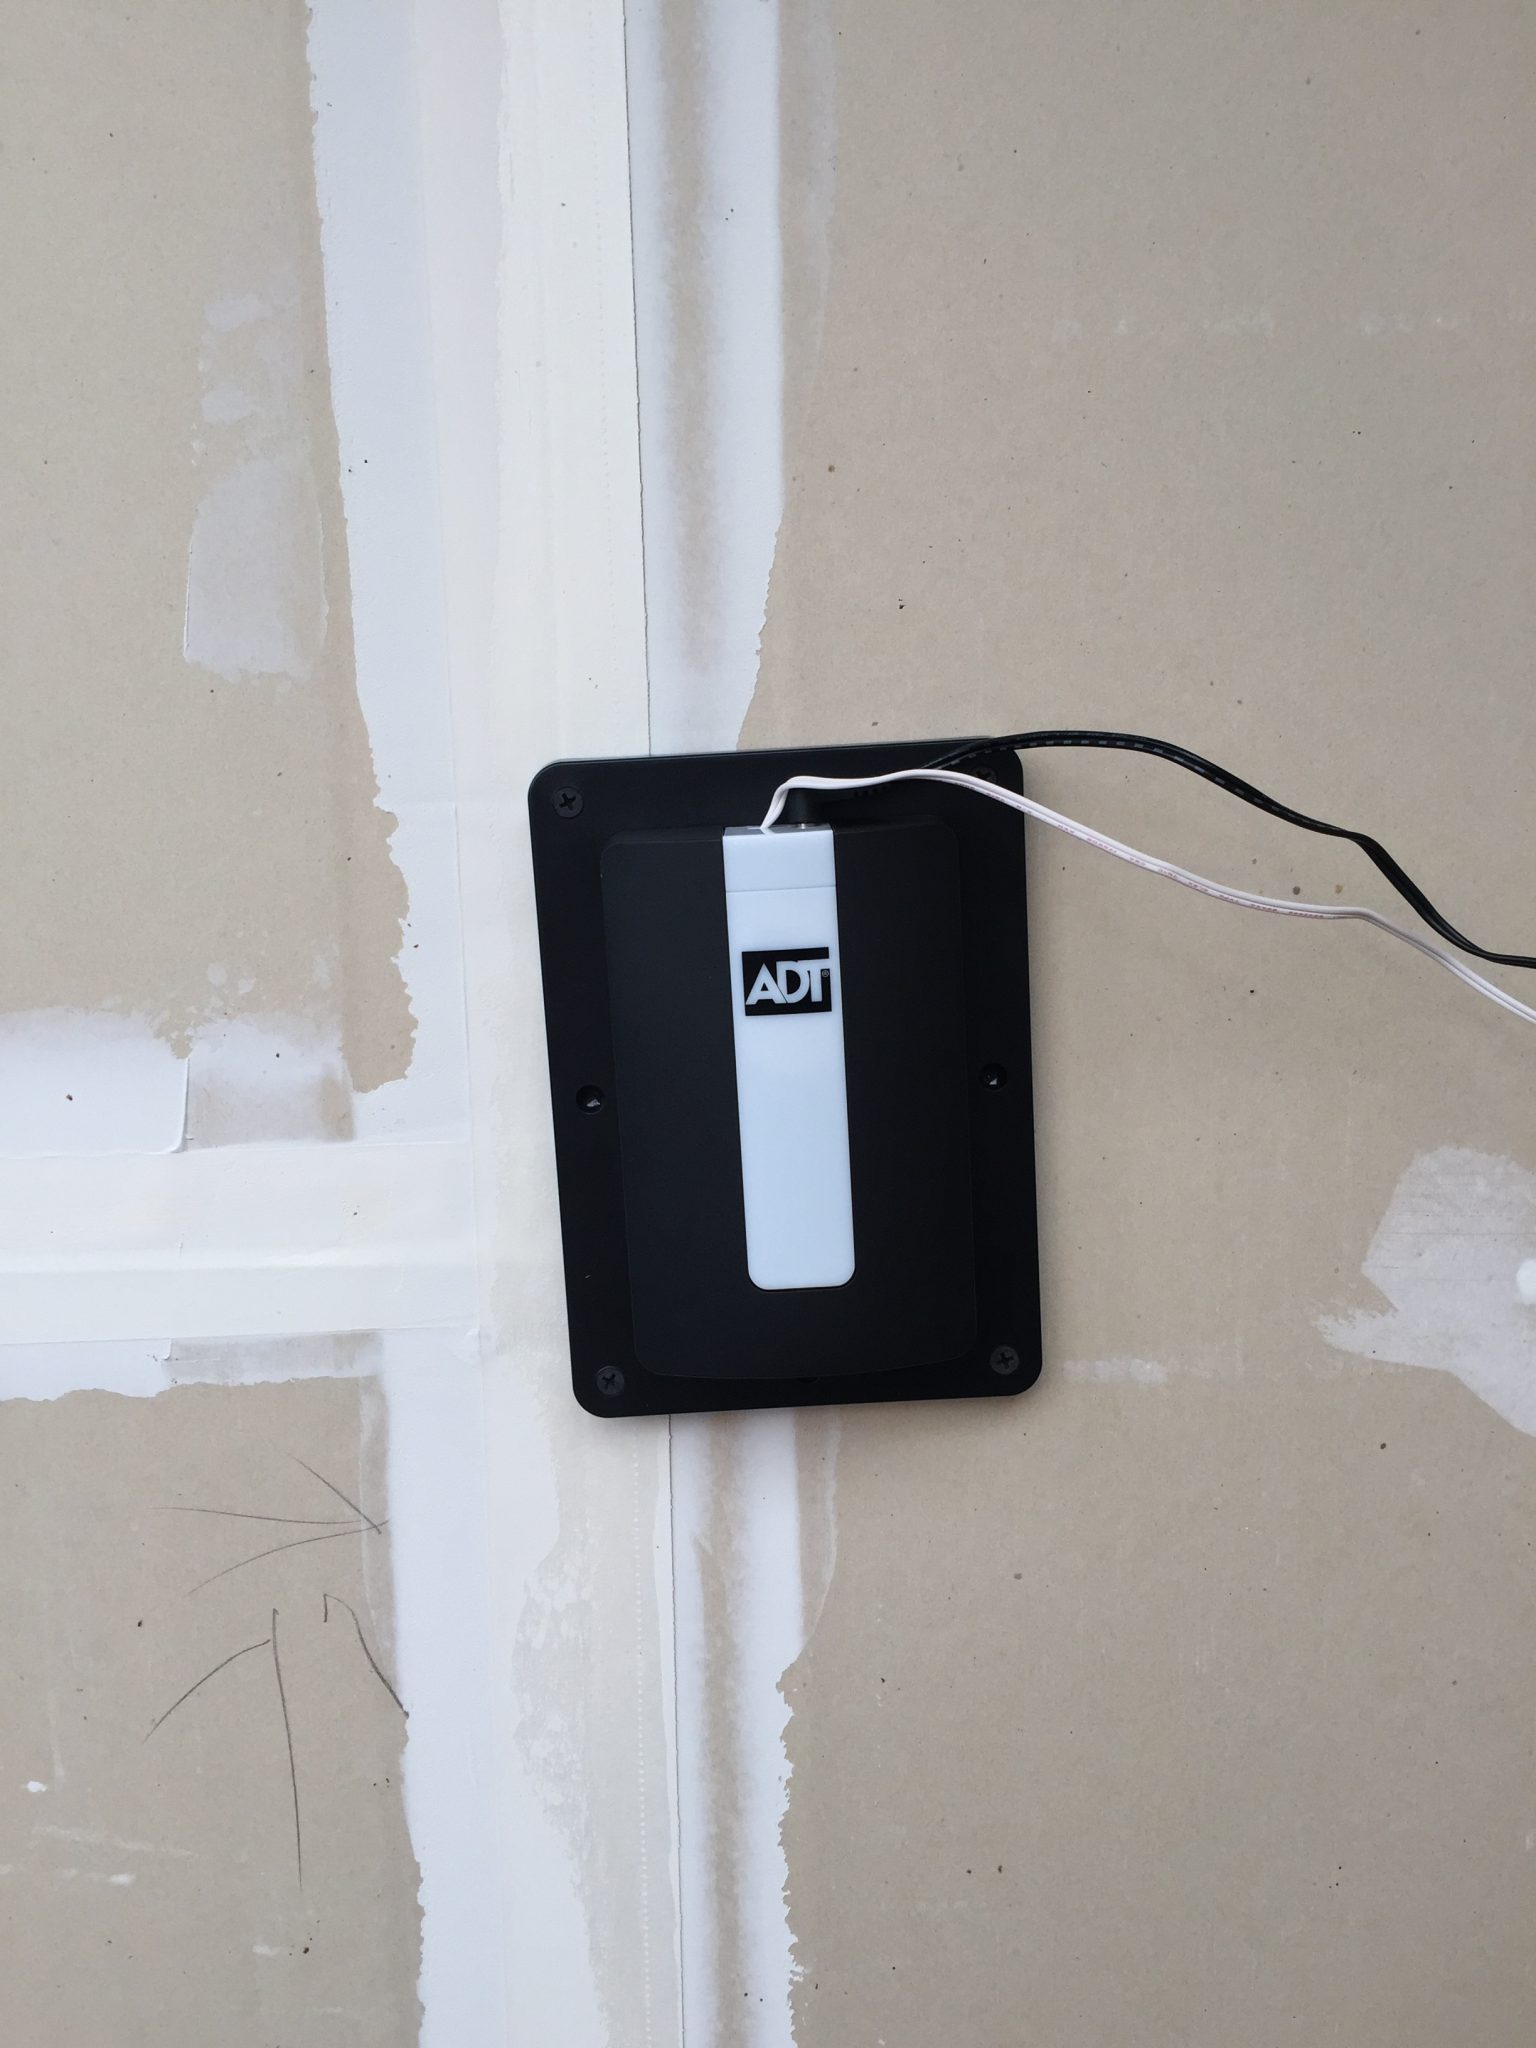
ADT Pulse Linear Garage Door Controller Mounted to the Ceiling of my garage
Step 3
Plug in the controller. You can connect the two white wires to your garage door opener main console. You can find where to put the two wires pretty easily if you trace the two wires going to the door opener back to the main unit. Once you connect those, you will need to plug the controller power adapter into the outlet on the ceiling. You should have one up there for the opener already; just use the other side.
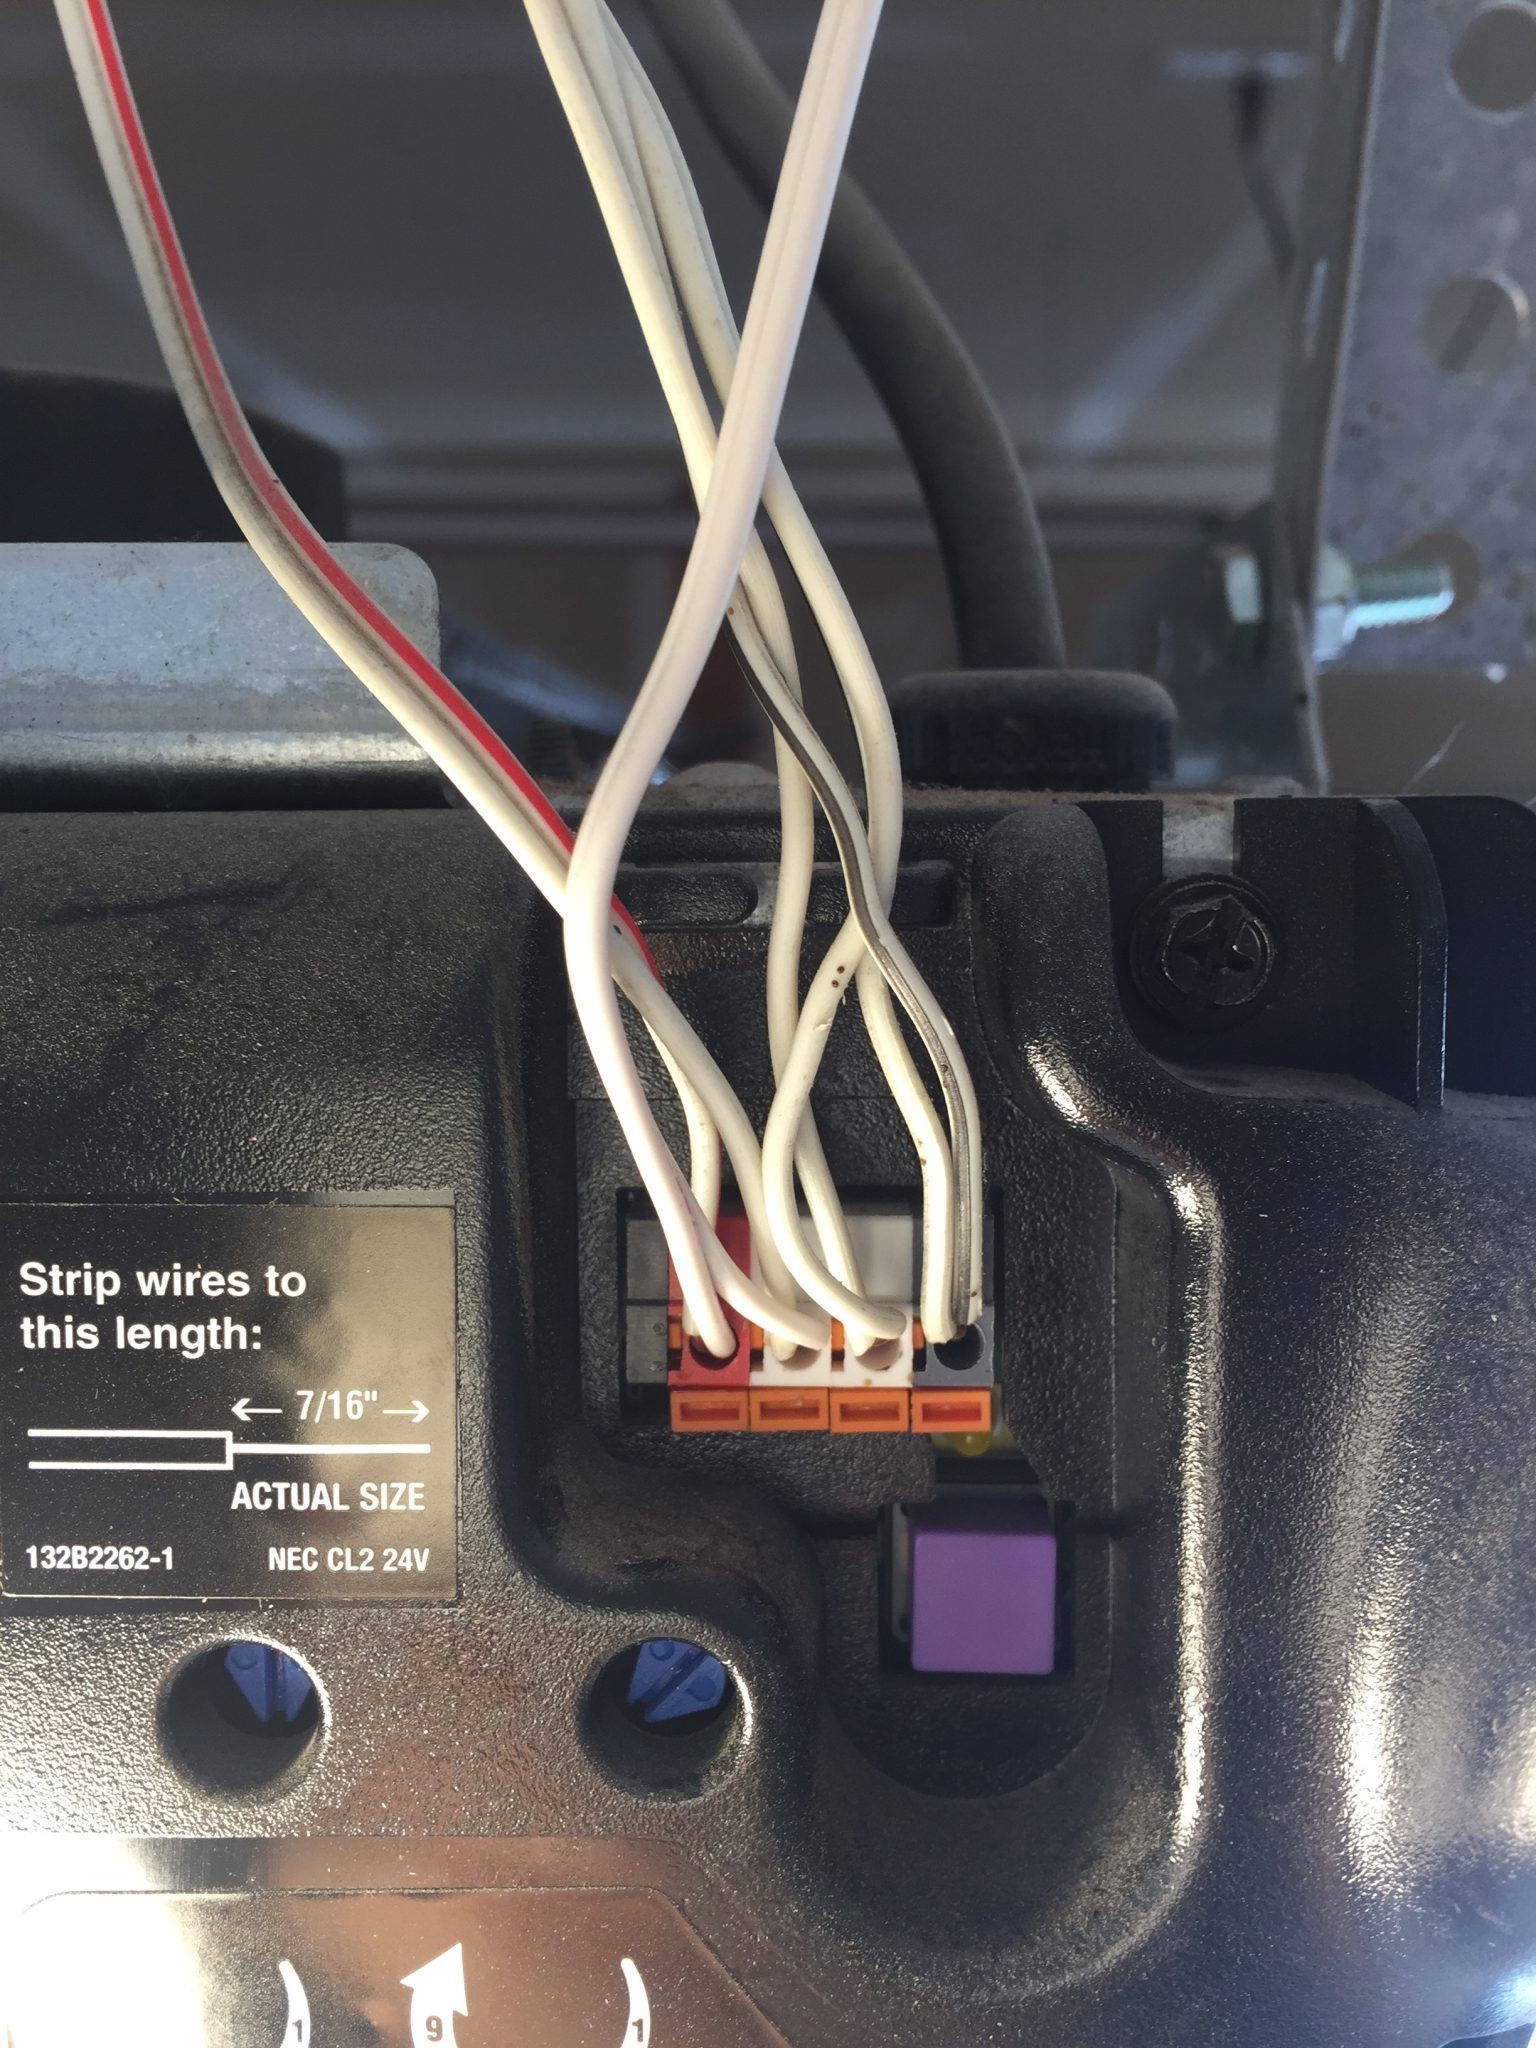
The white wires from the controller went in the two holes on the left, the same ones the opener wires go into
Step 4
Mount the tilt sensor. The tilt sensor is mounted on the top of the garage door on the inside panel. Make sure you mount it on a clean surface so it stays stuck on there (if you opt to use the double sided tape). Also, you’ll want to make sure the arrows that point up are actually pointing up.
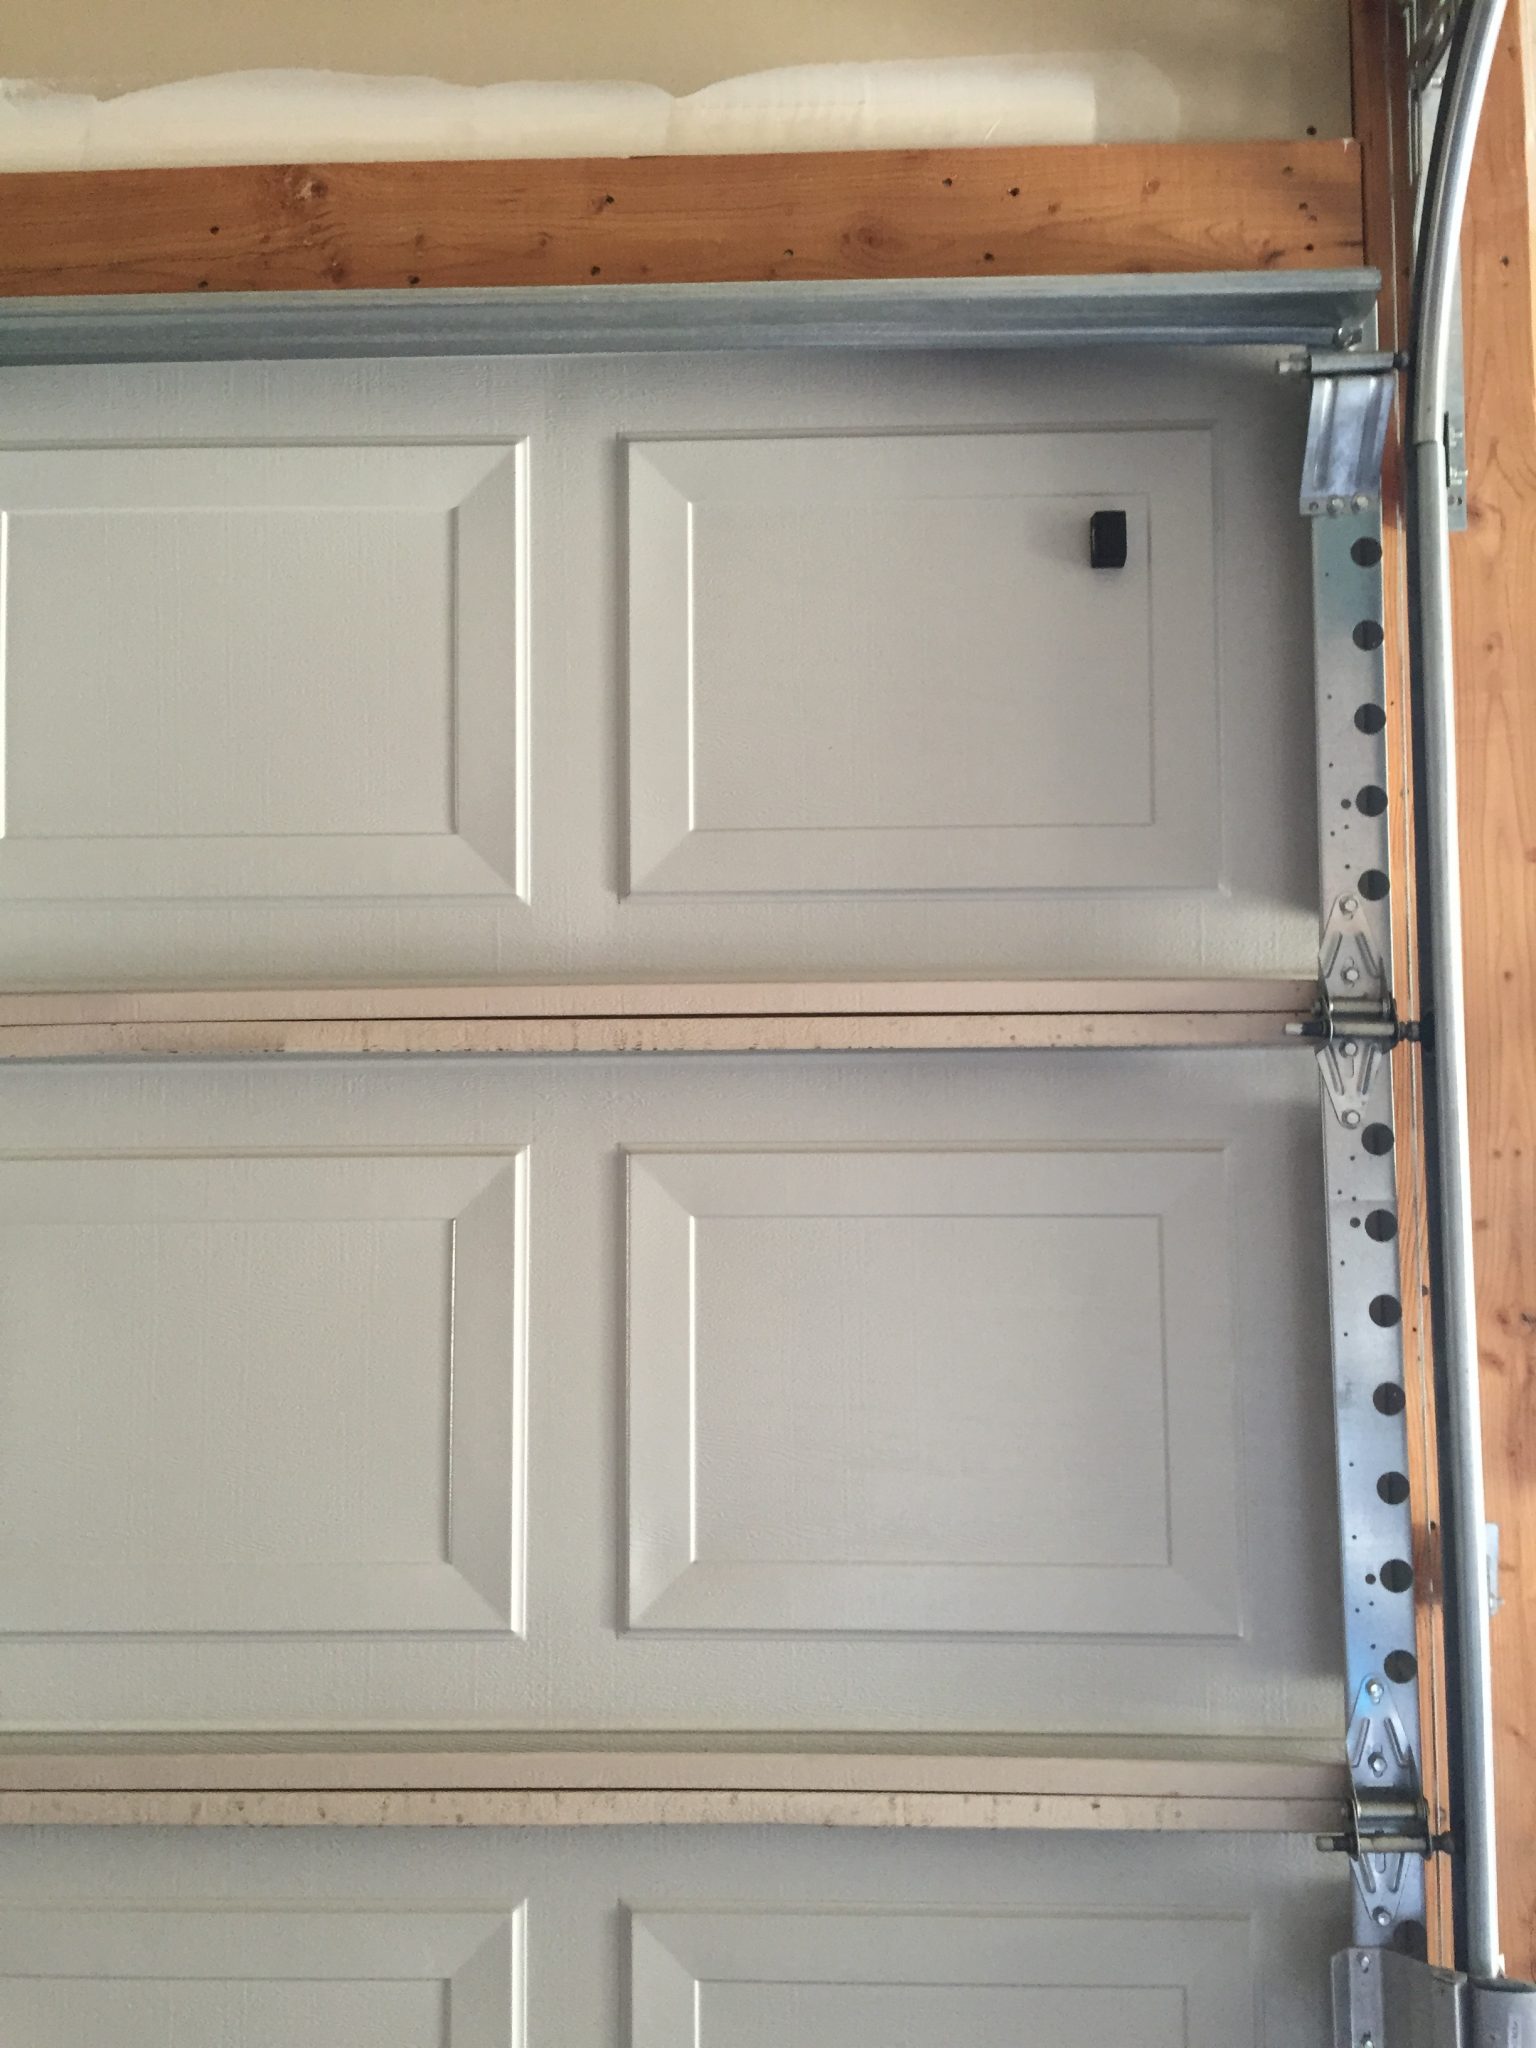
Tilt Sensor Mounted on the top panel with the arrow facing up
Step 5
Open and close the garage door the normal way.
Step 6
Open and close with your ADT Pulse app or keypad. You should hear the beeping and see the flashing light.
And viola! Wasn’t that easy? Enjoy the amazing video I took when I installed mine.
No Comments